Types Of Waterproofing. According to the field of application, all waterproofing material is divided into two large categories – indoor and outdoor use. According to the time of use, waterproofing is primary, performed at the construction stage, and secondary, repair when there is a problem of moisture suction or leakage. According to the principle of action, several types of waterproofing are distinguished.
- Anti-capillary
- Superficial
- Complex
- Anti-pressure
But the most common is the classification of waterproofing according to the device method.
Coating – polymer compositions; bitumen-based mastics, one-component or with additives (bitumen-rubber, bitumen-polymer, bitumen-mineral) and the most modern – water-polymer without the addition of bitumen.
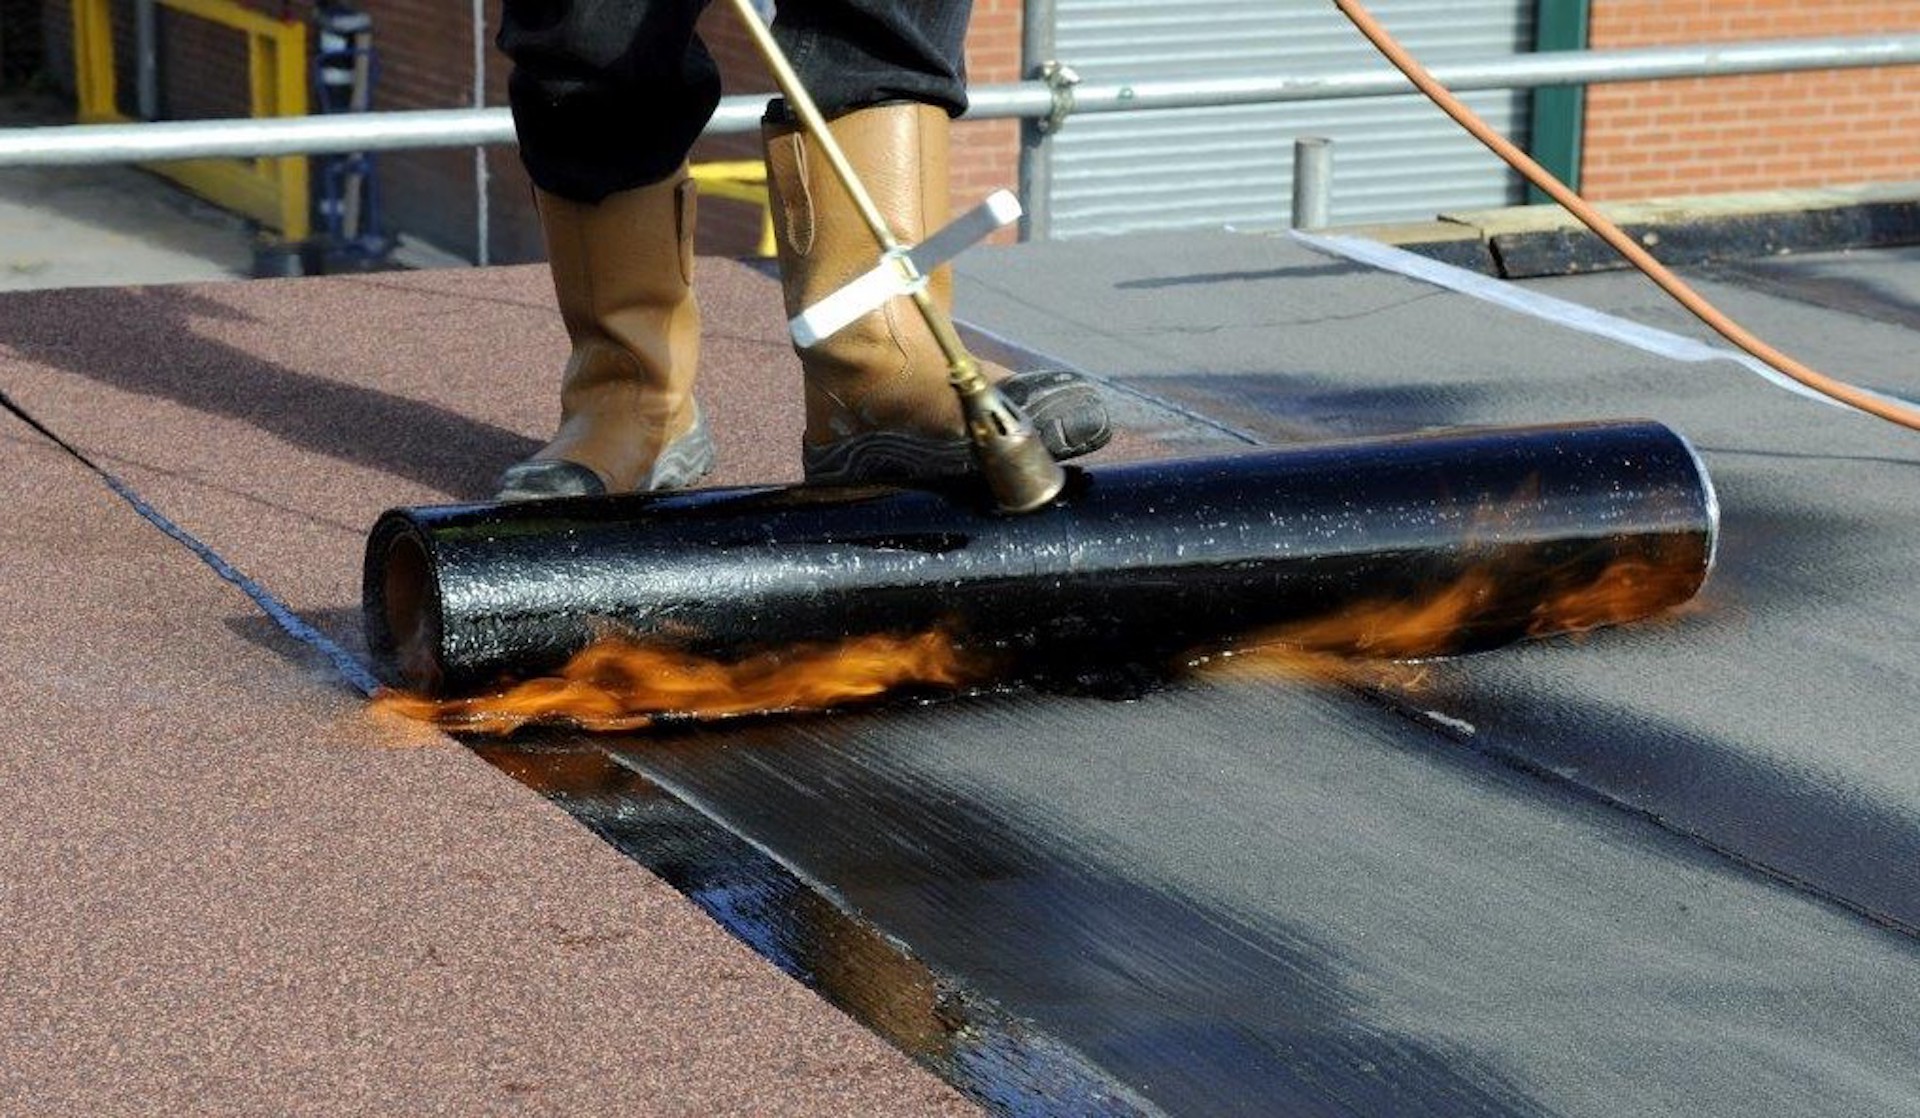
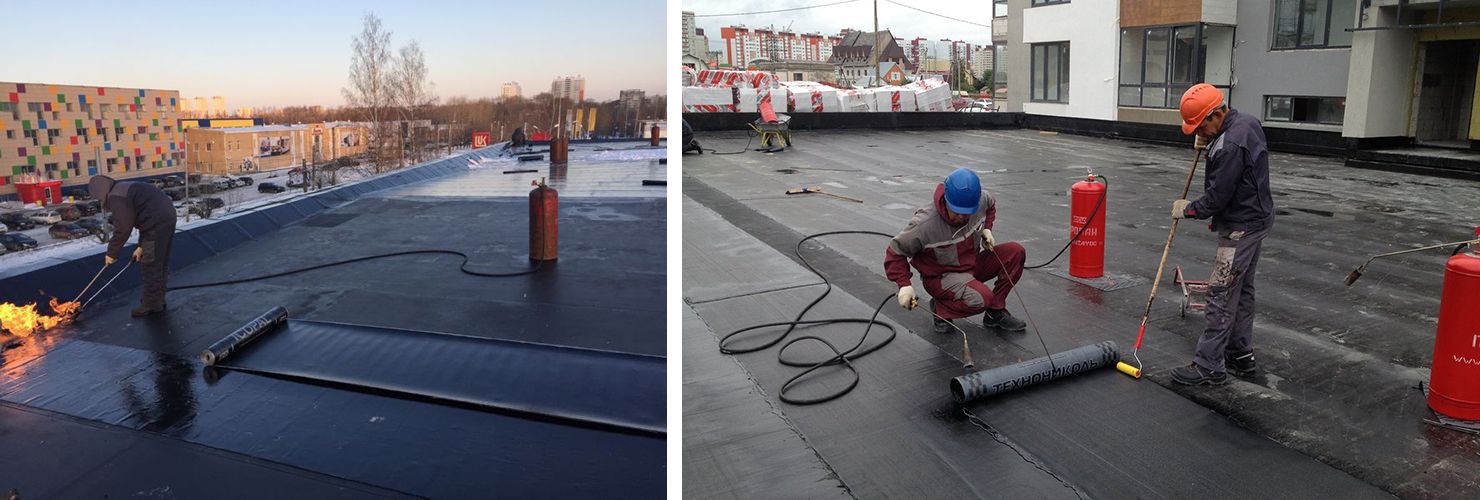
Membrane-Roll materials are laid with an overlap of the joint in one or more layers. Depending on the specific type, they are fixed mechanically, on a sticky layer on one side, with specialized adhesives or melted.
Penetrating (impregnating) – cement-based solutions with modifying additives penetrate deep into the thickness of the treated surface. Clogs pores to prevent moisture from sucking in.
Injection – formulations based on polyurethane, micro cement, epoxy resins, and acrylate. “Injections” with introducing a waterproofing agent into the deep layers.
The choice of one or type is influenced by the specifics and technical condition of the structure, the stage of work at Noah construction company, the base material, and other factors. Consider how and with what waterproofing is performed under various conditions.
How To Get Rid of Water in The Plinth?
There is a townhouse with a basement on a slope. The base is monolithic; the height is about 4 meters. One wall is entirely in the ground, and the opposite is entirely on the surface. The problem is that at a distance of 2-2.5 meters from the wall (which is in the ground), the floor gets wet, water accumulates in the pits. We tried to embroider and fill the seam and the corners of the slab to the wall with a waterproofing compound. We did an injection, but there is still no particular result. The townhouse itself is not located at the lowest point of the slope; below, there is a ravine, where the storm drain leaves the road and houses. Subjectively, moisture is constant, regardless of whether it is raining or not. There is a version that moisture enters through the floor itself and not through the seams. Floor – monolithic slab 40 cm, concrete M200. On the project with insulation and waterproofing, how it is – is unknown. Tell me what the correct algorithm of actions is,
How To Protect the Masonry from Getting Wet Through the Seams?
Just treating the wall with water-repellent soil will not be enough in this case. Since water-repellent primers can seal the pores in the base up to 0.2 mm. This problem must be approached comprehensively:
Seams In Brickwork – it is necessary to embroider (deepen) by 5-10 mm, since there are already micro-gaps in the seams, plus we will make a reserve in-depth for laying new material. Treat the prepared surface with waterproof soil of deep penetration for 1 time and let dry for at least 4 hours. Seams, filling: if the seams are grey, we recommend using a reinforcing hydrophobic filler for filling; if the seams are white, we recommend using a leveling high-strength hydrophobic filler for filling we will remove the saturation of the wall through the seams of the Brickwork. Allow the applied fillers to dry for at least 3 days.
Applying a water repellant over the entire wall surface – for this, it is best to use a waterproof deep penetration water repellant based on silicone. We apply the application in two layers, wet on wet; after applying the first layer, we do not allow it to dry, but immediately proceed to the application of the second layer, from the same place where we started to apply the first layer.
Such a system of using materials will allow you to protect the wall from getting wet and saturating it with water. At the same time, the water repellent will not have to be applied every year; it will be enough to process the walls every 3-5 years, depending on the intensity of the rains in the season.
How To Waterproof an Insulated Pool?
If I understand correctly, then the insulation is planned to be carried out inside the pool bowl, in which case the pie of materials will be the following. There are no questions about how and how to do it; there are more questions about EPPS (extruded polystyrene foam).
•To glue the EPSS, you need to use specialized glue and apply it to the EPSS board not with cakes, but over the entire surface of the board, with a notched trowel with a tooth height of 12 mm. In this way, we will avoid voids under the EPSP slab, which will positively affect the distribution of the load from the water pressure on the EPSP and the entire system, including waterproofing and mosaics.
•After 24 hours, the glued EPSP boards must be additionally fixed to the base with plastic mushrooms with a plastic core.
•To create an adhesive layer on EPSP boards, it is necessary to apply a special reinforcing putty with fiberglass mesh in two layers. When choosing a mesh, you must be guided by the following criteria:
The density of the fiberglass mesh is not less than 150 g / m².
Alkali-resistant.
Mesh – 5 × 5 mm.
Technology – we apply the first layer of putty, 2-3 mm thick, and put a mesh in it, immediately smooth out the putty that has protruded through the cells so that the mesh is completely covered with the putty (the mesh is not visible). When laying the mesh, we observe the overlap of the canvases – at least 100 mm. Leave to dry for 24 hours. After 24 hours, start applying the second layer of putty at least 2-3 mm thick. Thus, we get the thickness of the putty in two layers of 4-6 mm. We do not prime between the layers of the putty but simply moisten it with water. Let it dry for three days.
- Now, you can start applying to waterproofing contractors NYC – since the base is not the most stable (EPS insulation), the choice of waterproofing should be directed to elastic waterproofing. The best option would be “rubber” on a water-polymer basis, ready to use, with a consumption of 0.8-1.0 kg / m² in two layers and an elasticity of more than 300%. Drying time of waterproofing – 1 day from the moment of application of the last layer.
- Tile adhesive for mosaic laying is a white waterproof adhesive mixture. This adhesive was developed according to European standards in swimming pools and fountains.
- In 24 hours after finishing laying the mosaic, you can start grouting. The waterproof grout is recommended for use in swimming pools and fountains.
Now the main question is the choice of EPS insulation! The manufacturer must approve this material for use in swimming pools, in systems of the kind described above. Accordingly, the EPS must withstand the loads (not change its geometry) from the water pressure.
Conclusion:
Having chosen the optimal type of waterproofing at the construction stage and having correctly completed its device, it is possible to avoid problems in the future. If the need arose to protect structures, there is a mass of modern waterproofing materials characterized by high reliability.


